Automated Optical Inspection (AOI)
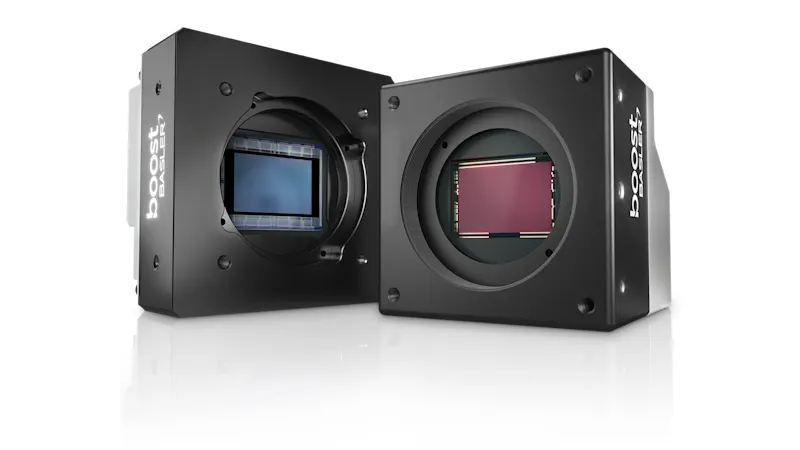
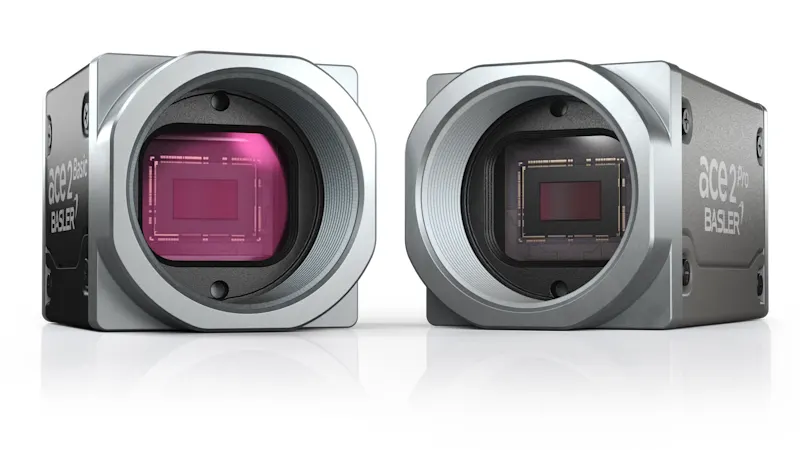
Optical measuring systems inspect objects and detect a wide variety of features. With its large selection of area scan and line scan cameras, Basler offers the right model for every camera inspection task.
The importance of optical inspection in industrial image processing
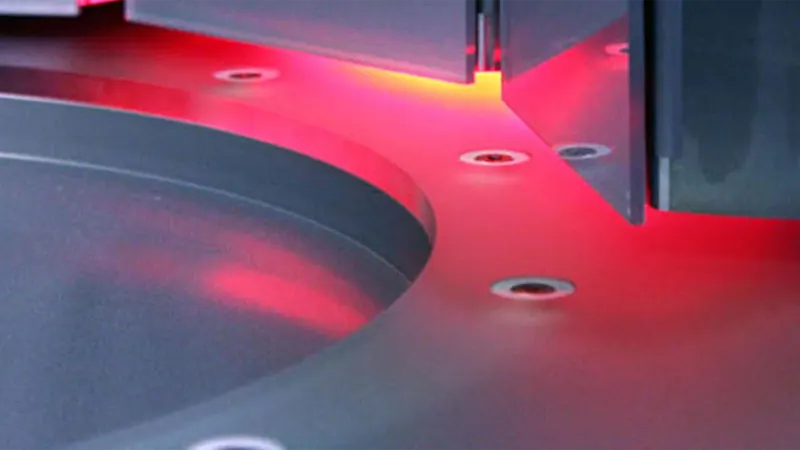
Optical inspection plays a role in the various fields of application for industrial machine vision. Whatever their specific area of use and requirements they face, all machine vision cameras have one shared mission: optical inspection. That means finding and identifying characteristics that serve as the basis for analyses and produce conclusions that can be used for ongoing processing.
Complex inspection tasks for measurement and error detection
Based on the identified characteristics, AOI systems can undertake optical measurements as dictated by the problem at hand and identify any deviations from the standards. Industrial machine vision is perpetually focused on so-called grayscale value deviation. The grayscale value indicates the brightness of a pixel, independent of color. Depending on how this grayscale deviation is configured, it is possible to
sort objects (foods, merchandise)
detect errors (scratches, entrapment)
measure sizes (packets, O rings)
inspect surfaces (films, glass) or
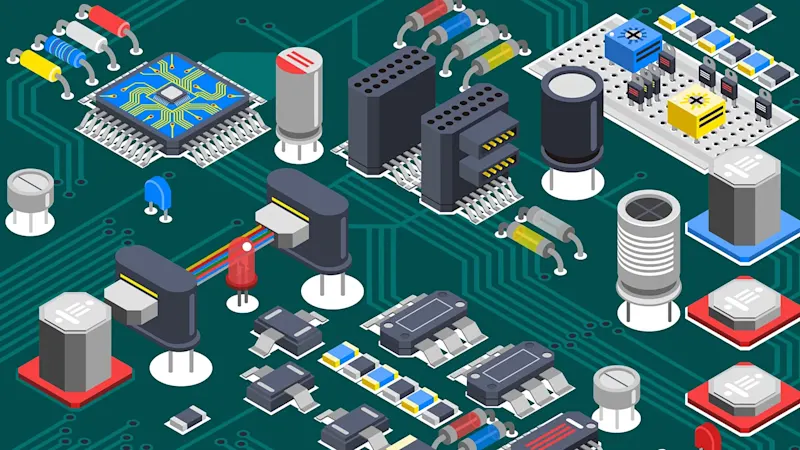
inspect circuit boards (for correct position of the solder points)
Application examples of Automatic Optical Inspection (AOI)
Find out more about our products and their applications. Our comprehensive information material provides you with all the important details.
Individual opportunities – flexible use
Automated optical inspection can be established at various spots in the production process to fit specific needs: Directly within production or as part of packaging, with 100% control or via trial-and-error testing. The use of powerful cameras with high frame rates allows for inspections to be run without disrupting the production workflow.
Necessary components
Optical inspection systems are structured into a variety of layers. The machine vision camera is only one of several components. Sufficient lighting — artificial or natural — as well as a trigger for signaling, such as a light barrier or encoder, to activate the camera are also essential hardware components.
Analysis software is required for further processing of the collected image data. This can either be integrated directly into the camera or positioned downstream outside the camera, with the data passed via a suitable interface to a connected computer.
Take only the good...
If the analysis of an image identifies a characteristic or deviation from the standard, then this flawed object must be correspondingly sorted out. The underlying camera data are available for documentation purposes. The automated optical inspection has fulfilled its tasks.
