pylon vTools: Getting Started
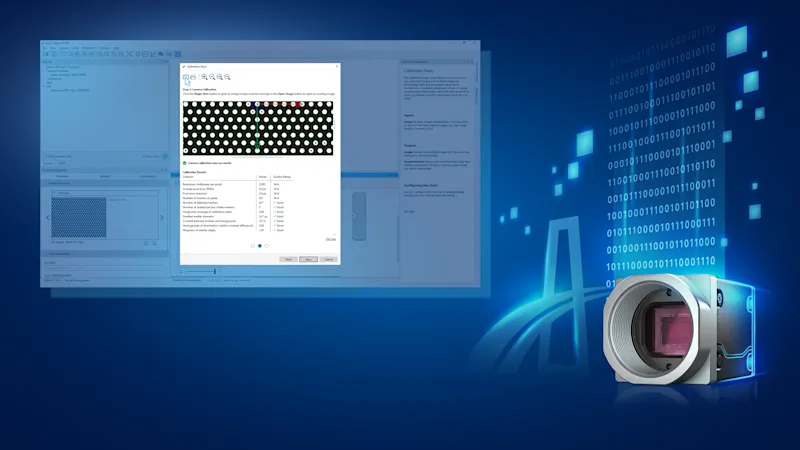
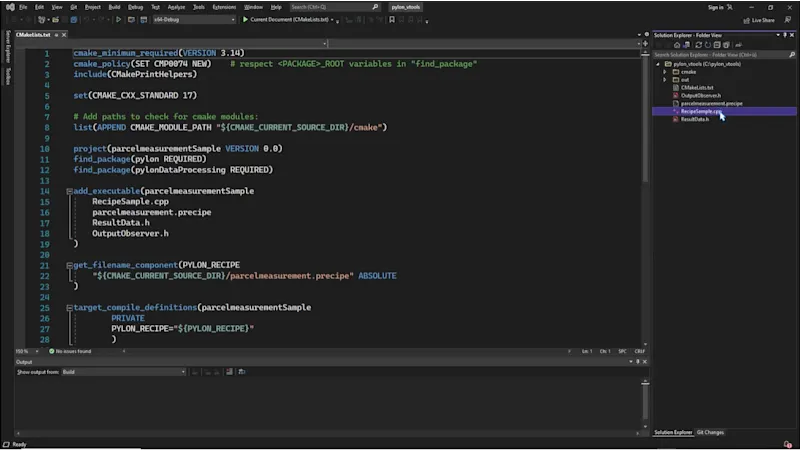
With Basler pylon vTools, you are able to create high-performance image processing functions and flexibly integrate everything you need into your application.
Prerequisites
In order to work with vTools, a camera must be connected and set up correctly. Alternatively, you can use the free Image Loading vTool to load image files for input in other vTools.
Tip: Some vTools are free and included in the pylon Viewer setup, others require a license.
Workbench
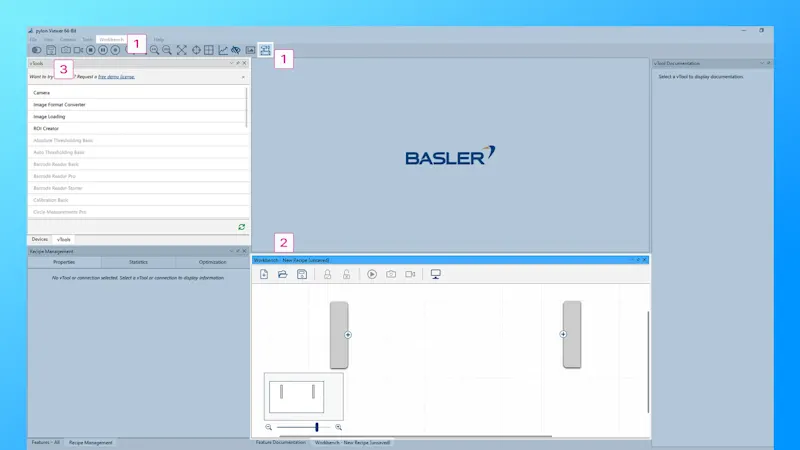
Open the pylon Viewer.
To launch the vTools, start the Workbench by clicking the Workbench button in the toolbar or the Workbench Menu in the menu bar.
A Recipe is automatically created.
All available vTools are displayed in the vTools pane on the left. Licensed vTools appear in black.
Tip: Only licensed or free vTools can be added to a Recipe.
Licensing
For an overview of available licenses or to request a free demo license, click Help and vTool Licensing or use the top link in the vTools pane.
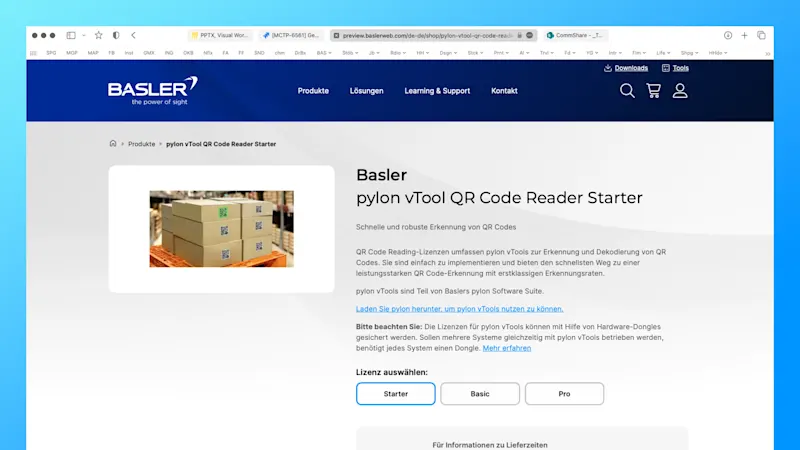
Available licensing models are listed on each vTool detail page:
Tip: Each vTool offers tiered licensing models – Starter, Basic, Pro – to support different needs and budgets without compromising quality or performance.
Recipe creation
To add a vTool to the recipe, either click on it in the vTool pane or right-click on it in the Workbench pane. First, select the Camera vTool.
Double-click the Camera vTool. Select a camera. Click Assign. A green arrow indicates an assigned camera.
By default, the camera is setup in continuous shot mode. The continuous shot mode can be changed to single shot mode.
Click the Run button to start the recipe.
The Preview area of the Recipe Management pane immediately shows the result of the selected vTool, in this case: the camera image.
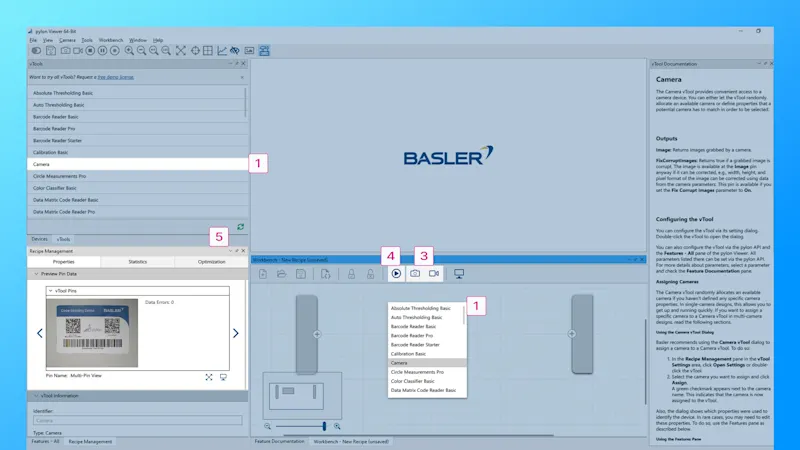
Recipe management and vTools settings
Before adding another vTool to the recipe, remember to Stop the currently running recipe.
Now add another vTool – e.g. by right-clicking in the Workbench pane – and simply connect the vTools with the mouse. Only inputs and outputs of the same type can be connected, for example, Image < > Image.
To change the Settings of a vTool, double-click on it.
Adjust the settings to your specific needs.
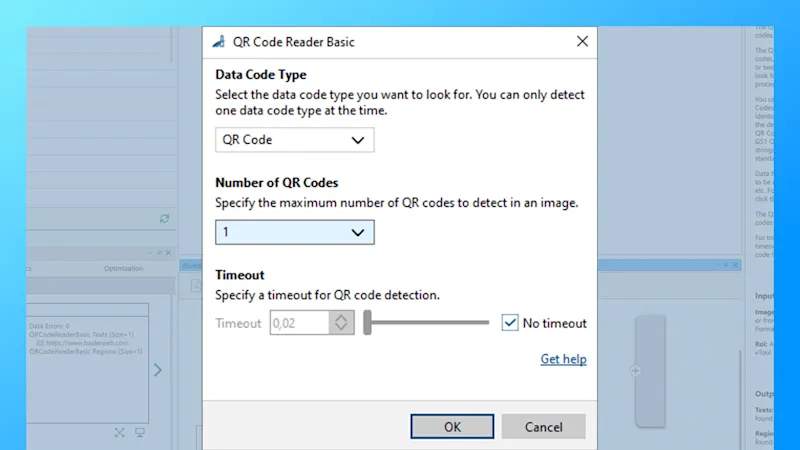
Pin Data View
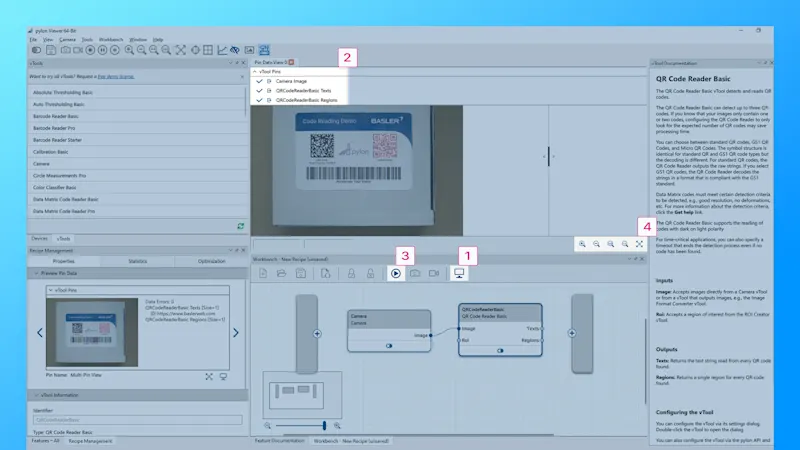
To take a closer look at the vTools result in a recipe, open the Pin Data View.
Select all pins of interest.
Run the Recipe to see the results.
Adjust the Pin Data View View Settings as needed. Detailed results are displayed next to the output image.
Tip: Not all pins are selected by default.
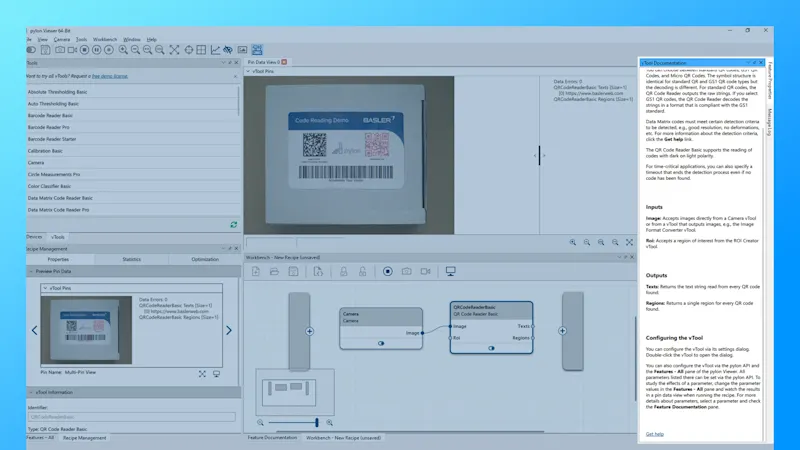
Integrated: Basler Product Documentation
We have integrated documentation into the Basler pylon Software Suite:
The vTool Documentation pane on the right side of the pylon Viewer provides a brief overview of the currently selected vTool.
For more detailed information, scroll down and click Get help. The link will take you to the Basler Product Documentation.
Tip: The Basler Product Documentation can be accessed from the pylon Viewer at any time, even if you are not connected to the Internet.
Interested in pylon vTools and want to try them out?
Request a free trial license now so you can test all the vTools with the full range of features and find out which vTools solve your vision tasks.
Try pylon vTools for freeMore tutorials on pylon vTools
pylon vTools
Flexible software add-ons for industrial image processing
With the modular pylon vTools, you don't need to purchase a full vision library; instead, you select only the image processing functions required, using either AI-based or classic algorithms. Choose the appropriate license – Starter, Basic, or Pro – to access the range of features that best suit your needs.
